Candy Corn Dipped OREO Cookie Balls
This #OREOCookieBalls shop has been compensated by #CollectiveBias, Inc. and its advertiser. All opinions are mine alone.
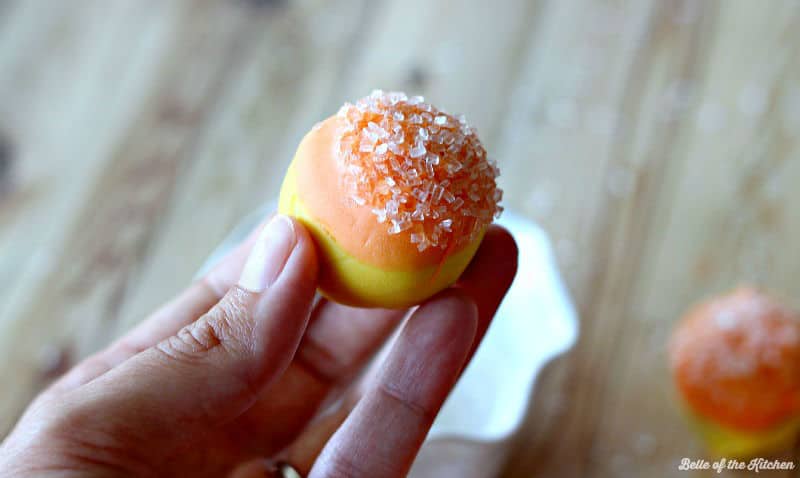
Make your Thanksgiving table even more festive with these Candy Corn Dipped OREO Cookie Balls! They are easy to make and even more fun to eat!

Y’all, I love OREOS. They are just one of life’s simple, delicious pleasures. And ya know what I love even more about OREOS? How fun they are to dress up! Since we are a peanut-free family, they are also one of the few store-bought treats that are safe for my son, so that makes me love them even more.
Since Thanksgiving is almost here, I thought it would be fun to make some OREO Cookie Balls and give them a festive coating, reminiscent of candy corn! Now if you’re not a big fan of actual candy corn, no need to worry. These only look like candy corn, flavor not included. They just taste like an amazing combination of OREOS and cream cheese. 🙂
So, are you ready to make some? And more importantly, eat some? Well then, let’s get started!
How to Make Candy Corn Dipped OREO Cookie Balls:
- I’m going to show you how to make both the official OREO Cookie Balls, and also the Candy Corn Dipped version. So here are the ingredients you will need:
1 package of OREOS (any flavor would work, but I used the original kind), 1 (8 oz) brick of cream cheese, 1 package of yellow candy melts, 1 package of orange candy melts, white sprinkles, and lollipop sticks for dipping. (For the official version, you will need 4 pkg. (4 oz. each) semi-sweet baking chocolate)
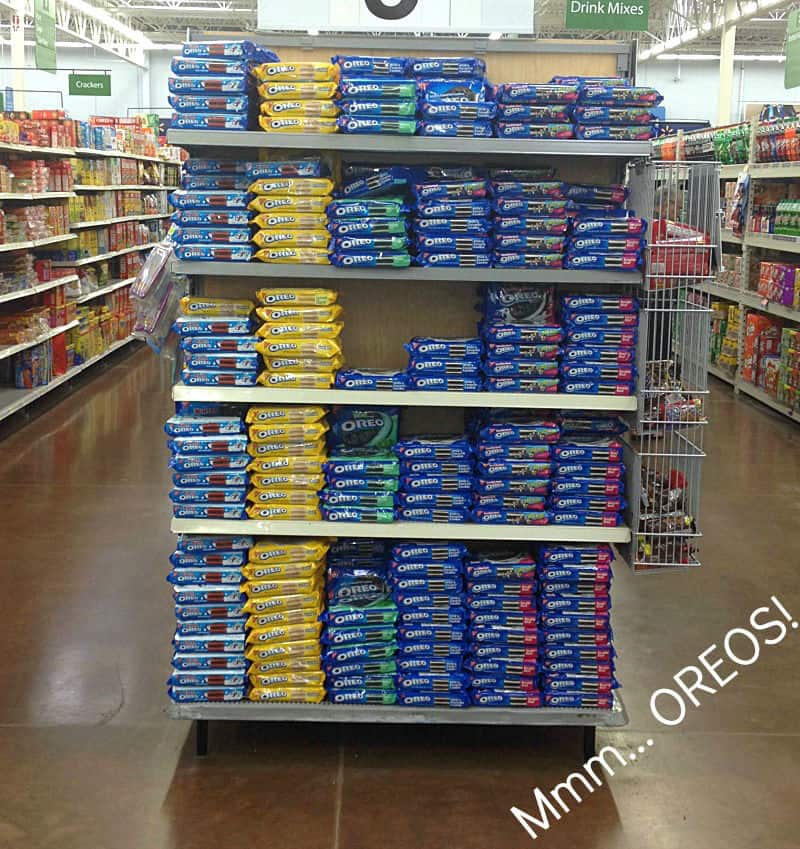
I was able to find everything I needed at my local Walmart. The OREOS were easy to spot in the cookie/cracker aisle, and I also found a big display on an end cap!
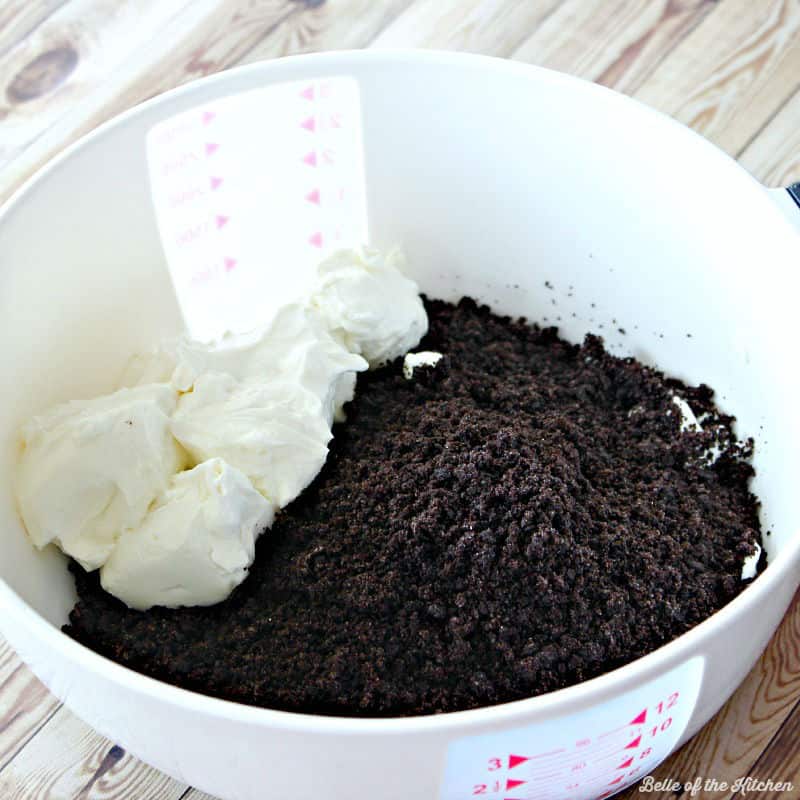
- Once you’re ready, start by finely crushing 36 OREOS. That’s the equivalent of one whole regular sized package. You can use your blender or food processor to help with this step. Add the crumbs to a bowl along with the softened cream cheese.
- Next mix the OREO cookie crumbs and cream cheese together until blended.
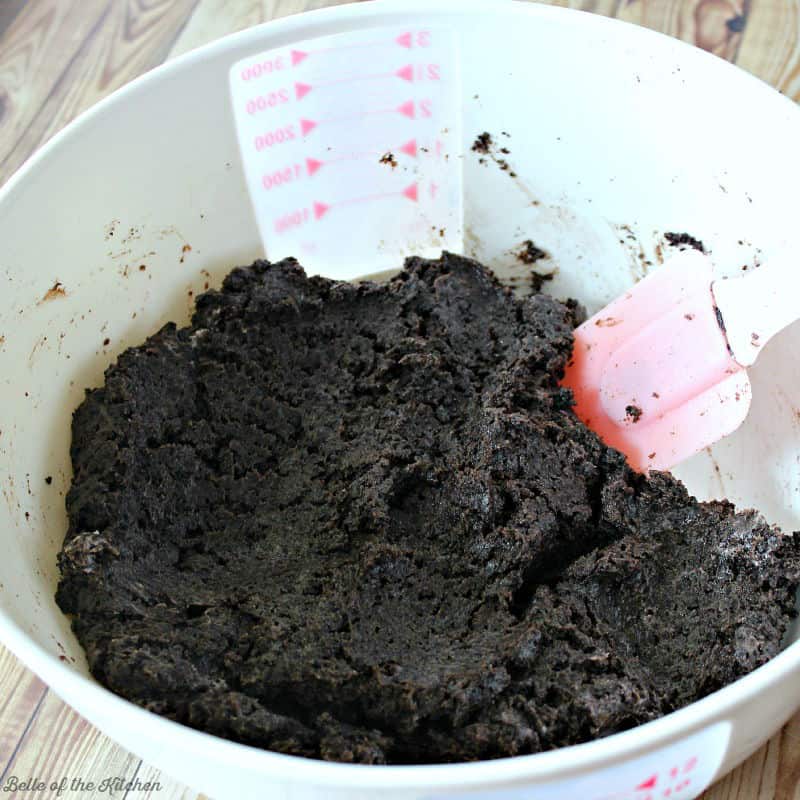
- Form the yummy mixture into 48 (1-inch) balls and freeze for 10 minutes.
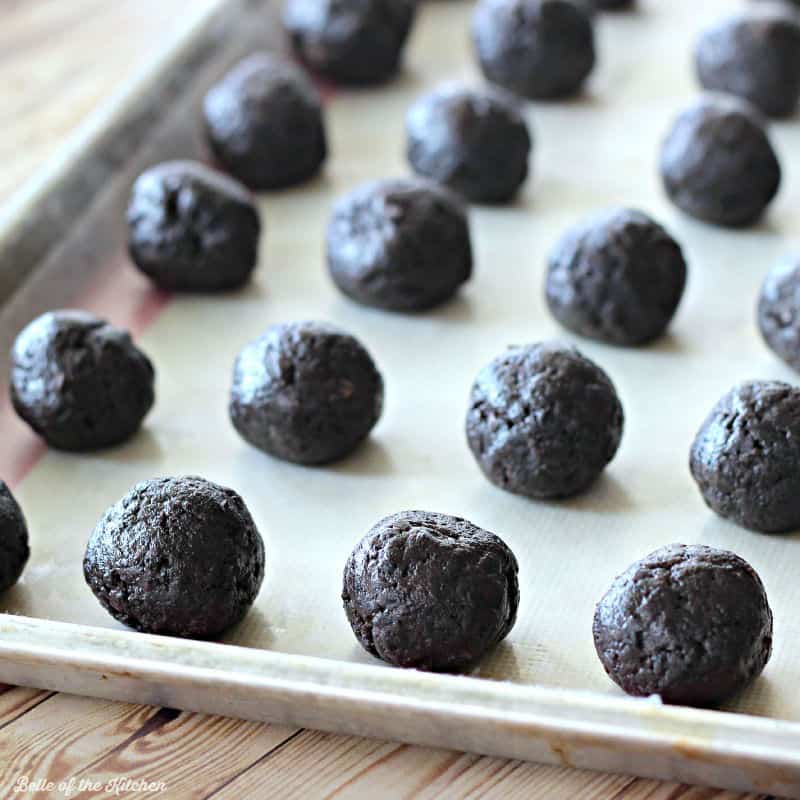
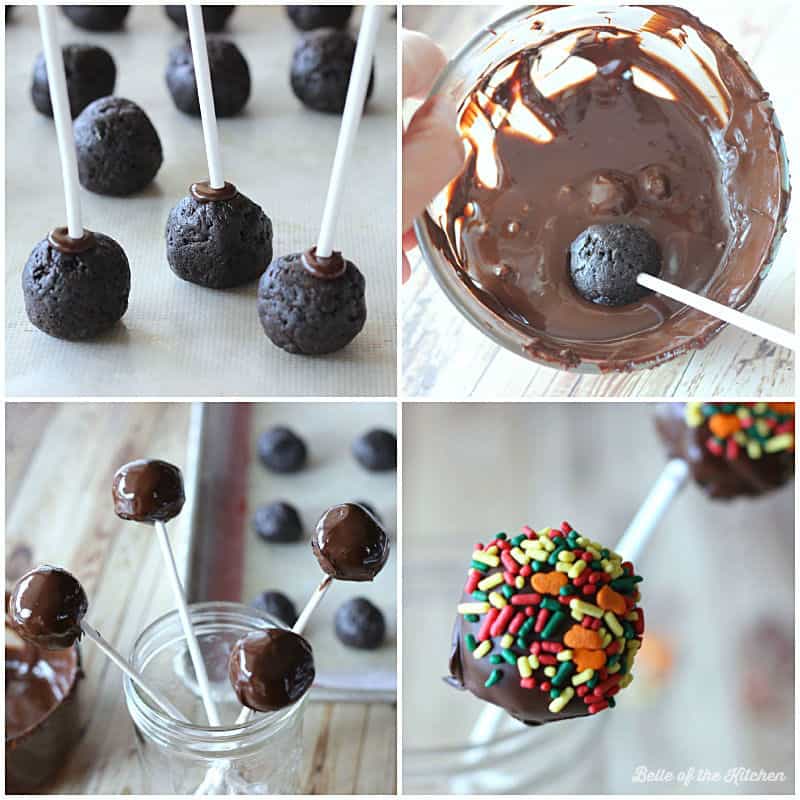
- While they’re firming up in the freezer, go ahead and prepare your candy melts for the Candy Corn Dipped version, or baking chocolate for the official version. For the official OREO Cookie Balls, I decided to use lollipop sticks to help with the dipping. I dunked the tip of each lollipop stick into the melted chocolate then into the cookie ball. This helps it to stick a little bit better. Next, I carefully swirled each cookie ball in the melted chocolate, then set them inside of a mason jar to dry a bit. You can wipe off any excess chocolate using a small spatula. After mine had dried for about five minutes, I dipped the tops into some fall sprinkles. You can leave them on the sticks for cookie ball pops, or remove the sticks after they’re dry. Totally up to you!
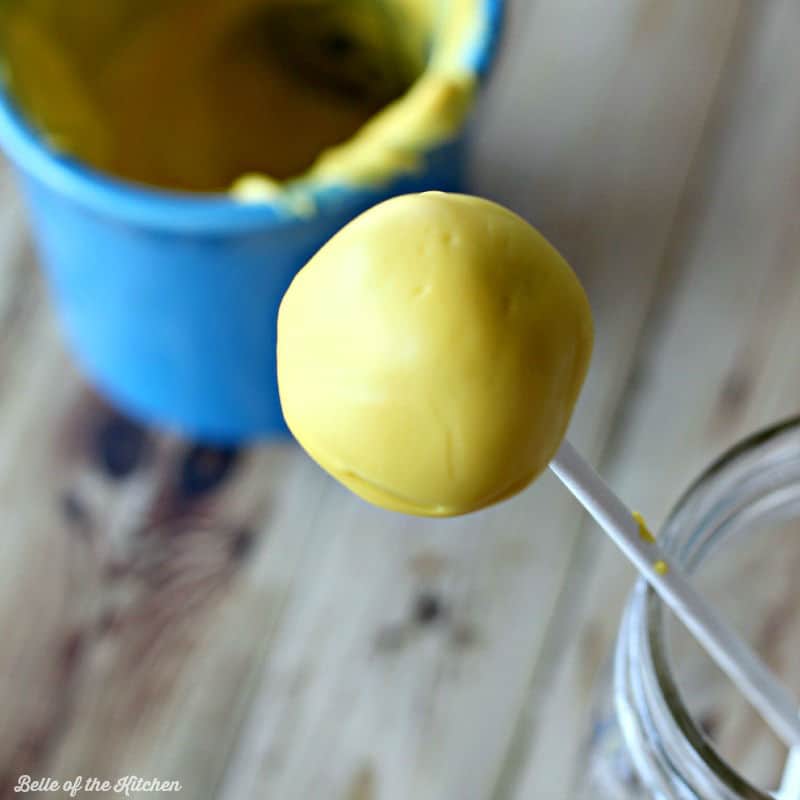
- To make the Candy Corn Dipped version, melt the orange and yellow candy melts according to the package directions. Insert a lollipop stick into each of the prepared OREO cookie balls, then dip each one into the yellow coating. You will want to cover the entire surface of the cookie ball, so swirl it around gently in the coating, and remove any excess with a small spatula. Let them dry for a few minutes before moving on to the next step.
- Once the cookie balls are dry, gently remove them from the sticks and then dip into the prepared orange candy melts. You only need to dip them about halfway.
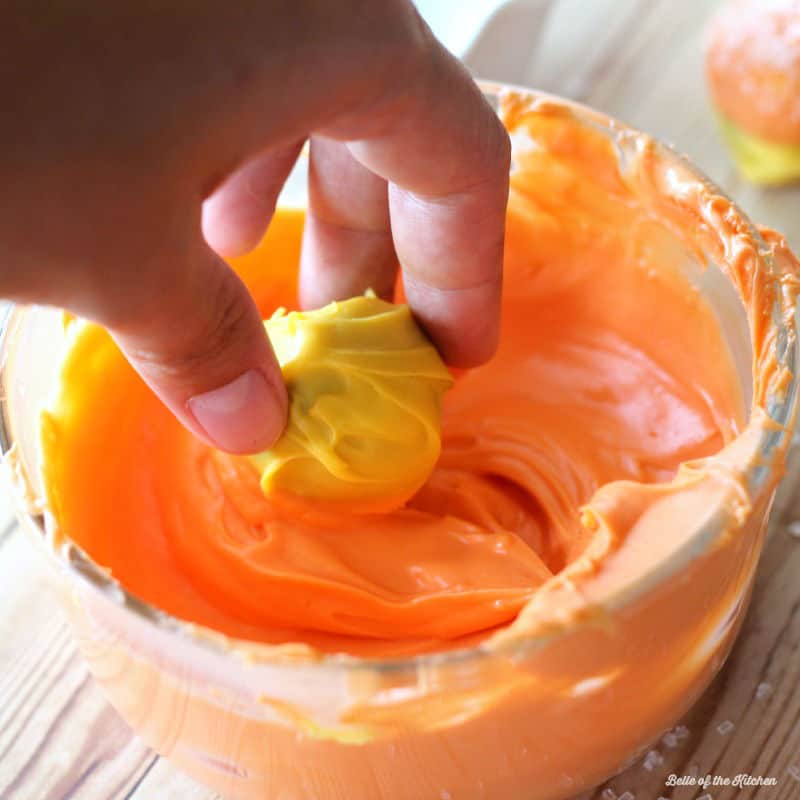
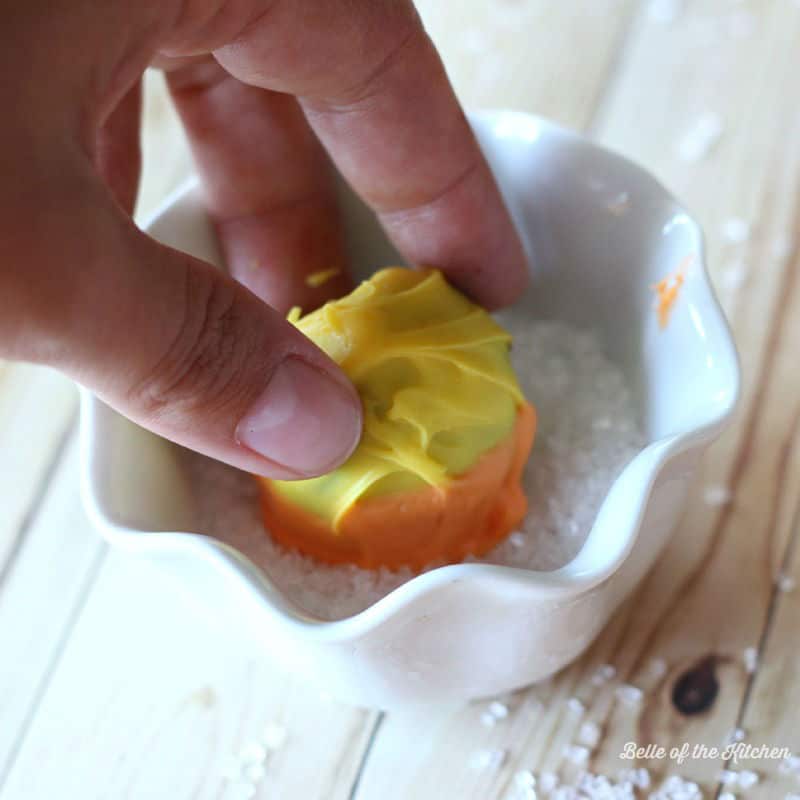
- Finally, while the orange coating is still wet, dip the very tops of the cookie balls into a small bowl of white sprinkles. I used sparkling white sprinkles to give them a little glitz, but plain white sprinkles would be super cute, too!
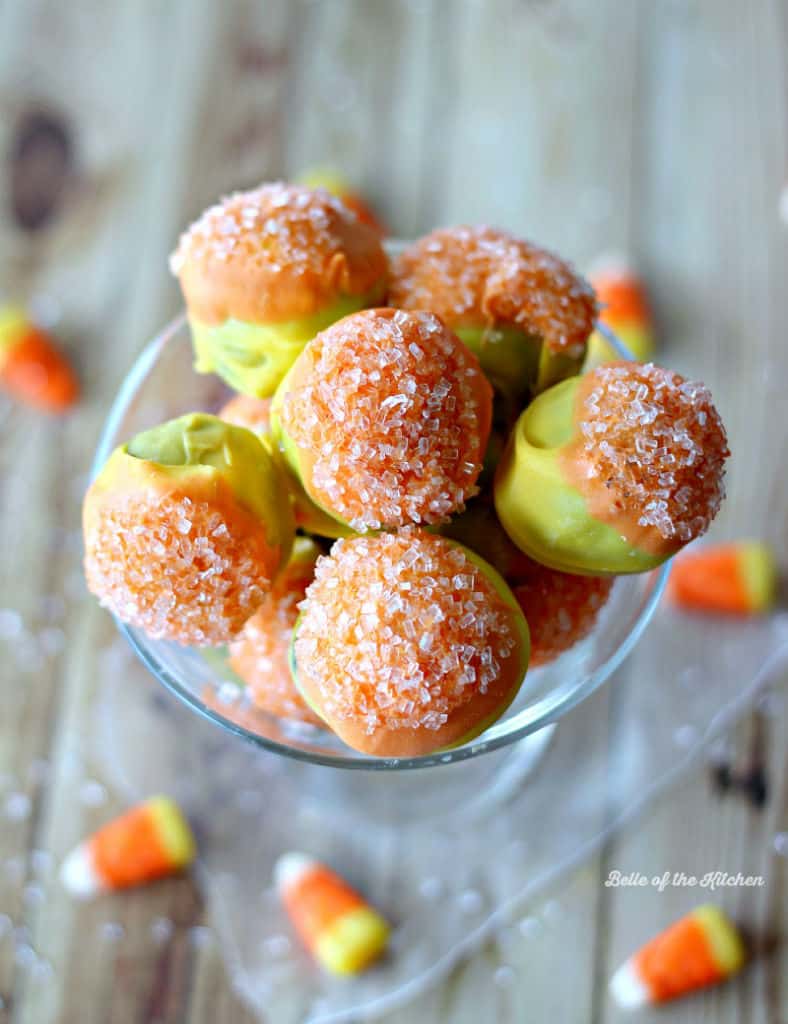
Now how adorable are these?
I just love these them! And let me tell ya, it was almost impossible for both my hubby and my son to keep their paws off of them! They’re looking forward to having them again at Thanksgiving.
These OREO Cookie Balls are so much fun to make, and they are totally customizable! There are lots of fun ways to prepare them, and you can find even more ideas here. Also be sure to check out Walmart’s online coupon center before you head over to pick up the ingredients to make these cookie balls, or for your Thanksgiving groceries. You might find some coupons to help you save a little money, and saving money is always a good thing.
Official OREO Cookie Ball Recipe
-
Ingredients:
- 1 pkg (8 oz.) brick cream cheese, softened
- 36 OREO Cookies, finely crushed (about 3 cups)
- 4 pkg. (4 oz. each) semi-sweet baking chocolate, melted
Make it!- MIX cream cheese and cookie crumbs until blended.
- SHAPE into 48 (1-inch) balls. Freeze 10 min. Dip balls in melted chocolate; place in single layer in shallow waxed paper-lined pan.
- CUSTOMIZE it with your own ingredient additions or decorative skills.
- REFRIGERATE 1 hour or until firm.
To make the Candy Corn Dipped Version:
Mix cream cheese and cookie crumbs until blended. Shape into 48 (1-inch) balls. Freeze 10 min. Place each ball onto a lollipop stick. Completely dip balls into melted yellow candy melts and allow to dry, about five minutes. Remove from sticks, then dip tops (about halfway) into orange candy melts. Immediately dip into white sprinkles. Set on platter to dry completely before serving. Enjoy!


I love how fun and creative these are, they look brilliant! Thanks for linking up to Sweet and Savoury Sunday, stop by and link up again. Have a great day!!
Thank you so much, Laura! 🙂
What a great idea, these are adorable and look yummy! Hope you are having a great day and thanks so much for sharing this awesome post with Full Plate Thursday.
Come Back Soon!
Miz Helen
Thank you, Miz Helen!
Oh my! Yummy! Pinned and tweeted. Lou Lou Girls
Whoo hoo! Thanks for sharing, ladies!
Love it! Thank you for the step by step pictures 🙂
Definitely Sarah! Thank you for checking it out! 🙂
I love the colors of candy corn, but only eat them with peanuts. So, Oreo cake balls coated in candy corn colors?! I think I can love with that…erm…live with that. Happy #FoodieFriday and thanks for linking up!
Thank you, Christine! And I’ve never eaten candy corn with peanuts before. That sounds like a genius combo!
I love candy corn together with peanuts.. it’s like eating a payday candy bar! Yummy 😋
This looks SOOOO yummm
Oh they SO are. Really hard to not gobble them all up! 🙂
Thanks so much for the recipe. My grandchildren love Nutella.
Oh I hope you enjoy making these, Ellie! There isn’t any Nutella in this particular recipe, though. They would probably be super yummy with some! I have a few other recipes that use Nutella though!
Joining you from Treasure Box Tuesday. These sounds so yummy–I’m an Oreo lover myself. Looks like a fun project with the kiddos over Thanksgiving break 🙂 http://www.vintagehousewife.org/2014/11/thanksgiving-102-table-decor/
Hi Shannon! Thanks so much for popping over! And I bet your kiddos would have so much fun making these over the break! Let me know how they turn out. 🙂
I love a good Oreo ball, and you’ve managed to make them even cuter and better!
Thanks Jaren! I had a lot of fun with these. 🙂
I have never made cake pops before but these look crazy good!
They are super easy to make, Nancy! I bet you would love them!
These are a super fun treat! Your step-by-step photos make these look so easy to make!
Thank you so much, Kristine! 🙂
SO CUTE ! I love these! And they look delicious. What a fun seasonal treat!
Thank you, Cate! They were super fun to make!
These are so cute, and your photos are beautiful! I love how you could change the colors on these to fit any occasion. Great recipe, Ashlyn!
You are so right, Andi! These could totally work for any holiday! Thank you so much. 🙂
Cute and pretty all at the same time! Love love love Oreos.
Thank you, Ginny! I’m a total Oreo lover, too. 🙂
These are way too cute! So perfect for fall!
Thank you, Sheena!
What a great Fall treat – I have no doubt these disappear quickly!
Thank you so much, Melanie! And yes, they were gone in a flash! 🙂