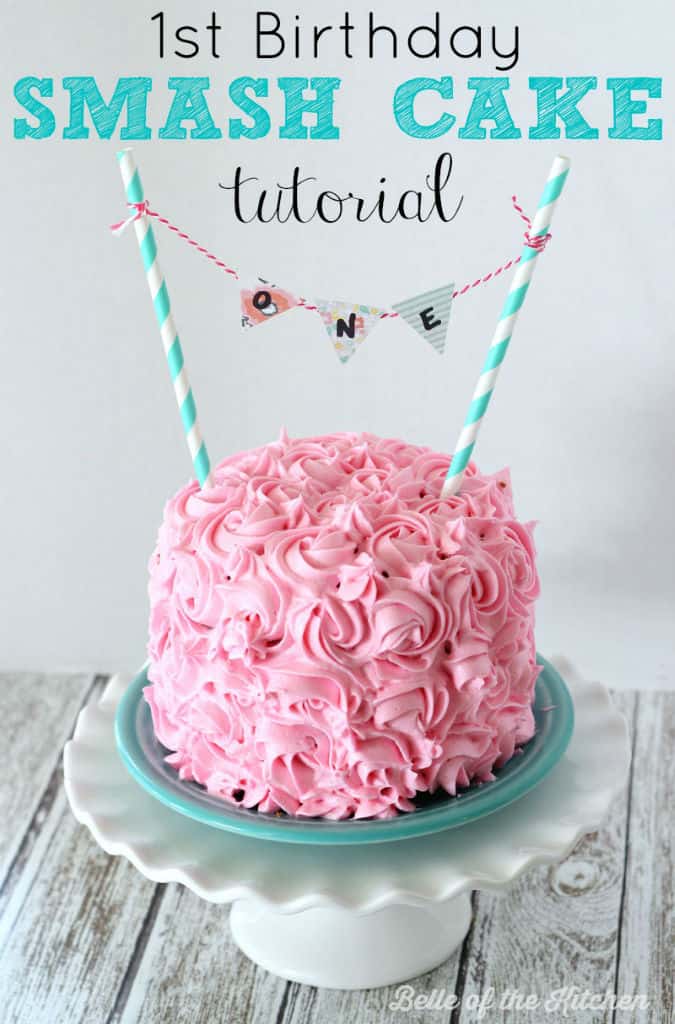
1st Birthday Smash Cake Tutorial + Simple Vanilla Cake recipe
Celebrate your little one’s first birthday by making a fun and yummy smash cake! It’s easier than you might think to make one at home, especially with this simple vanilla cake recipe.
My precious girl turned one last weekend! I seriously cannot believe how fast the past year has gone by. It seems like it was just the other day that we were bringing her home from the hospital, and making a pit stop along the way to pick up a big box of hot malasadas to celebrate. 😉
Have you ever had a malasada before? I’d never had one until we moved out here to Hawaii. They are basically fried pieces of delicious sugary dough. Uh-mazing! But I digress…
We decided to keep her actual birthday pretty low key and just stayed at home to let her play with her new toys, which my son and I were SO excited about. Probably more than her. 😉
He was excited to have presents around to open and play with, and I was excited about GIRL presents! She got her first Cabbage Patch Doll, which I couldn’t wait to get for her since I loved mine when I was little.
Plus, Babyland General Hospital (where the Cabbage Patch Dolls are born) is just a little ways up the road from my hometown in Cleveland, Georgia. I’m SO looking forward to taking my kiddos there one day!
We are having a birthday party for her in a couple of weeks with a luau theme, since she’s our little Hawaiian-born baby.
I decided that I still wanted to do a little something special for her actual birthday, and I really wanted to try my hand at making her a smash cake. I had never made one before, and I had never really decorated a cake before either, aside from slapping on some icing with a spatula and going shake crazy with some sprinkles. 😉
I was ready to give it my best shot, though, and I ended up being pretty proud of my work! It actually isn’t that hard at all, and while my cake certainly isn’t anywhere near the quality of a professional’s, I was still very happy with it, and so was our little birthday girl.
How to make a Smash Cake
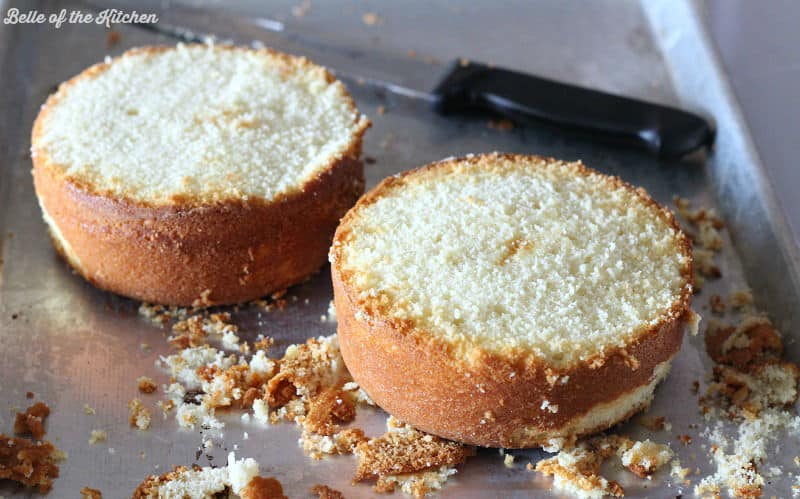
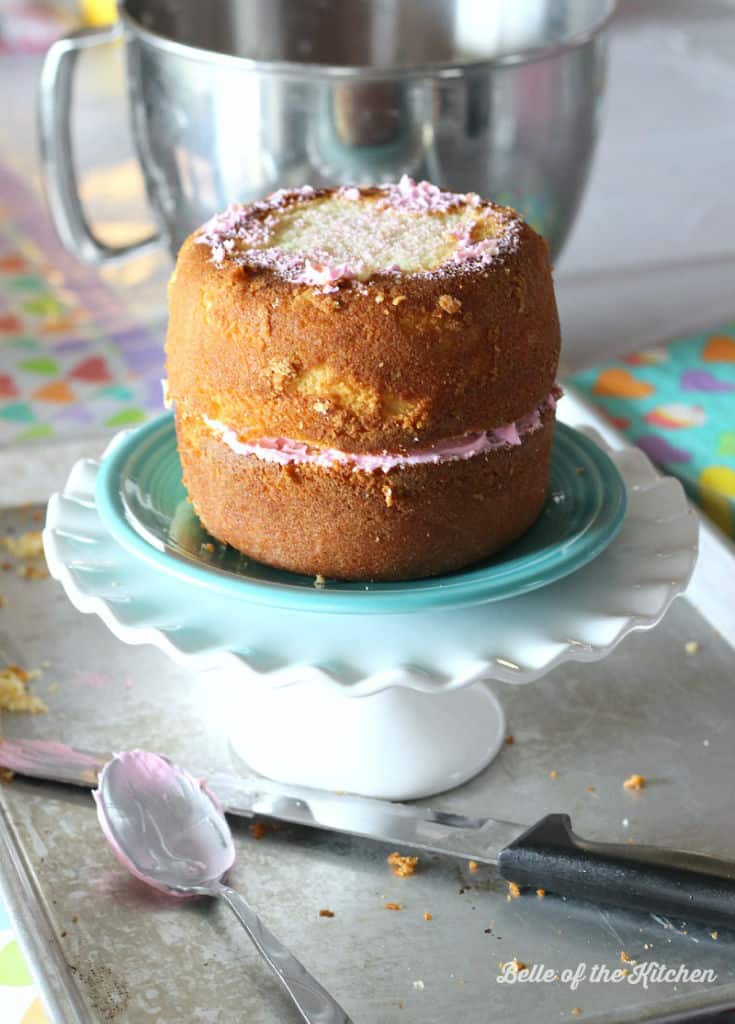
1. If you want to make a two layer smash cake (like I did), search your cabinets for two small, round, glass pyrex bowls. The ones I used were one quart each. You can use two small casserole dishes or other kinds of bowls as well, just so long as they are oven-safe! Grease and flour them both well.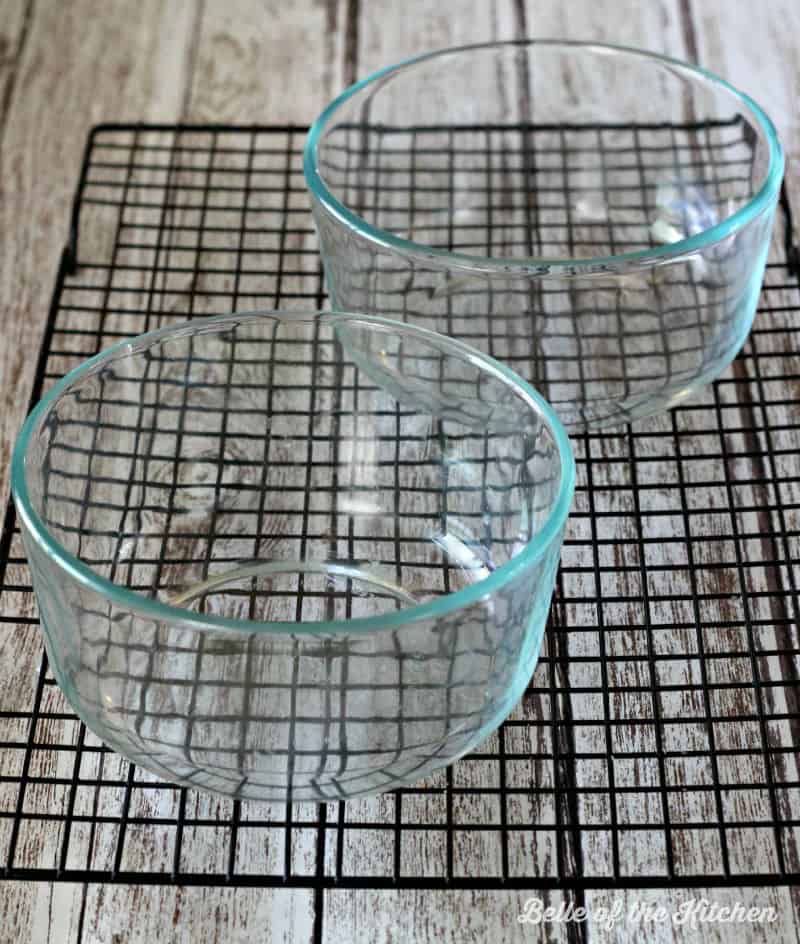 2. Prepare the Simple Vanilla Cake batter according to directions below. Fill each of the glass bowls about 3/4 the way full with batter. I used the remaining batter to make a dozen cupcakes as well. Bake and allow to cool completely. Once cool, loosen the cakes gently from the sides of the bowls by carefully running a knife around the outside edges. You will want to flatten out the tops of your cakes, which you can do by cutting a very thin layer off the top of each with a knife.
 3. Prepare your frosting. I used my Vanilla Buttercream Frosting
recipe and added a little pink gel food coloring. Spread a thin layer on the top of one of your cakes, then turn the other cake upside down and place on top.
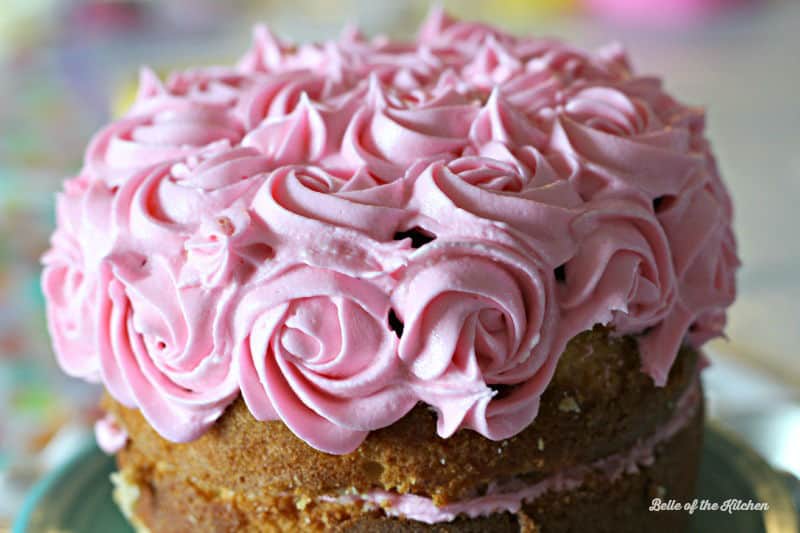
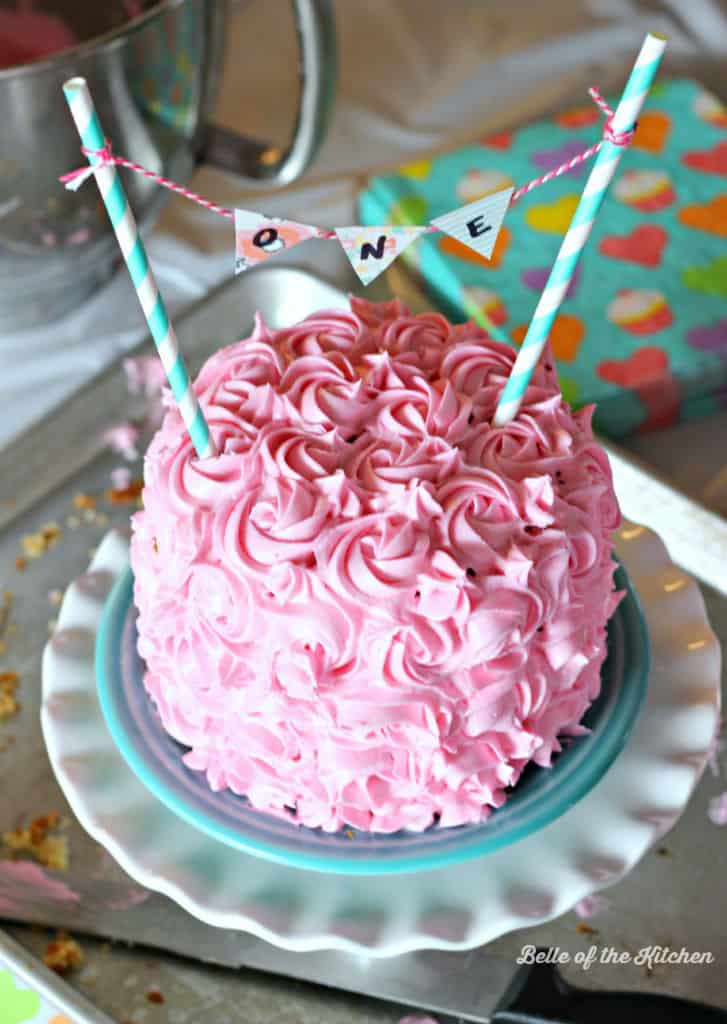
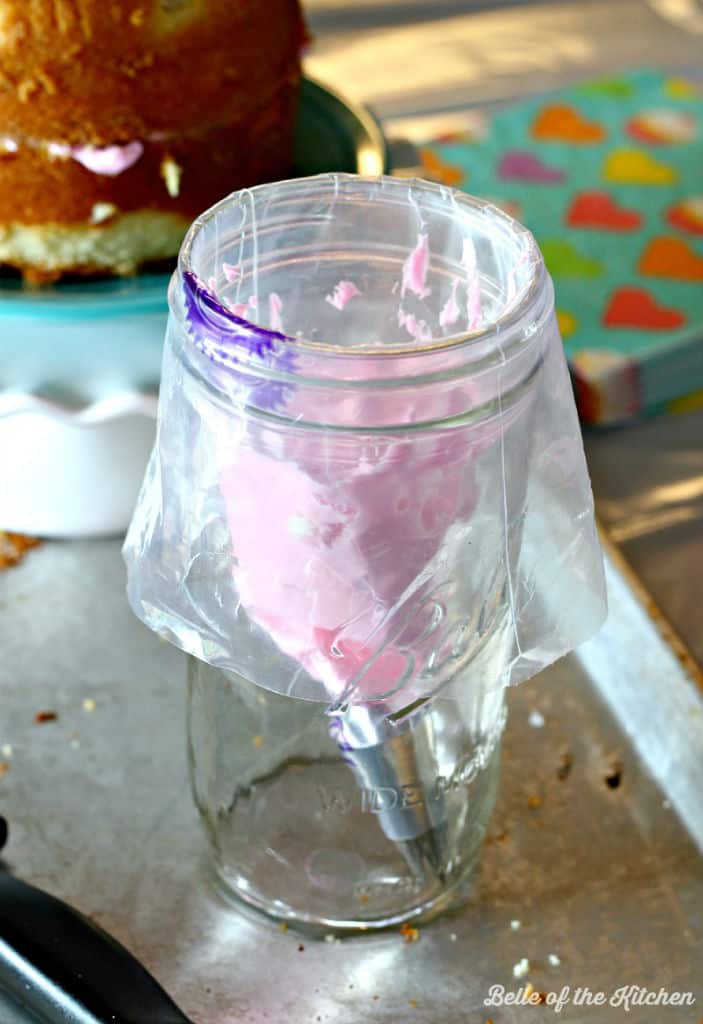 5. I covered mine in roses, which were DEFINITELY NOT perfect, but I was still really happy with it! Especially since it was my first attempt, I was okay with it not being perfect. Your baby is going to LOVE digging into their cake, and they are not going to care one little bit how fancy it’s decorated, so just HAVE FUN with it! If you want to make roses, take the tip of your icing bag, squirt and move in a circular motion, swirling around in a circle from the center. I covered the top of the cake in these swirls first before attempting the sides.
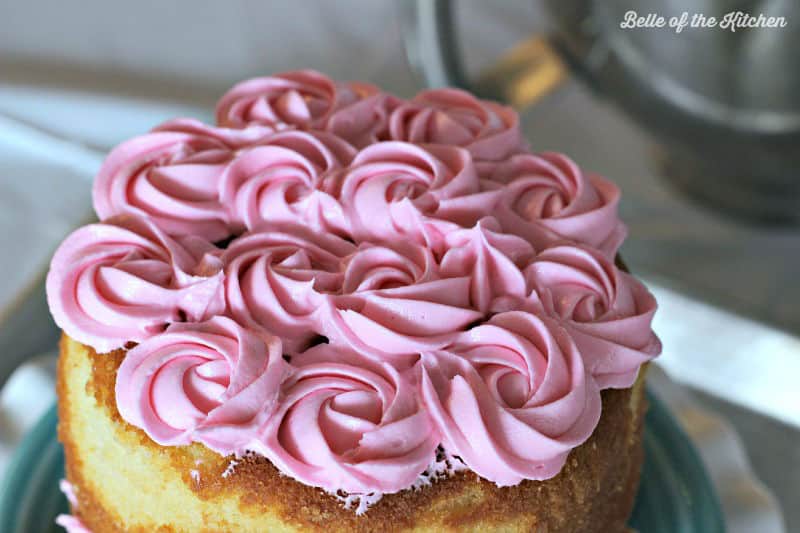 6. Continue covering the cake by with the same pattern down the sides. The sides were definitely more challenging for me! Just take your time, and remember how much your sweet baby is going to love it. 🙂 For any open spaces, I just gave a simple squirt of frosting to fill.
 7. For the the little topper, I tied some baker’s twine around two paper straws (that came in a pack I bought from Target). I LOVE fun straws, and I was so excited that I had some turquoise ones since I decided to do her cake in a pink and turquoises theme. Next, cut out some small triangle shapes from scrapbook paper and tape them to the string, like I’ve shown below. I used three little triangles to spell out the word “one” but you could also make your baby’s name! My little girl’s name is pretty long, so I decided to stick with the word “one” instead. 🙂 I simply wrote the letters on the opposite side with a black sharpie, but you could also use letter stickers!
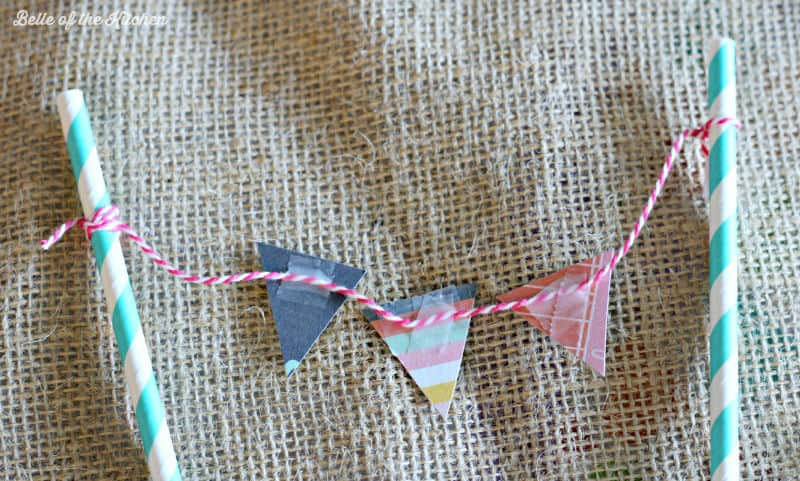 8. Carefully stick the two straws into your cake, pushing down until both are level and to your liking. Then stand back and admire your finished product!
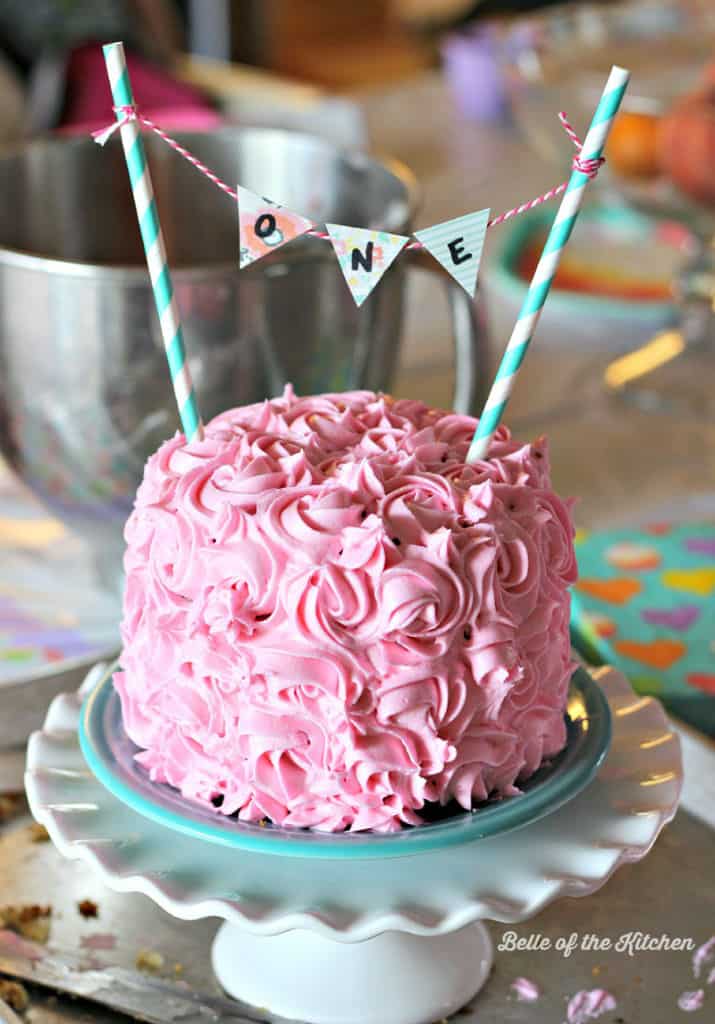
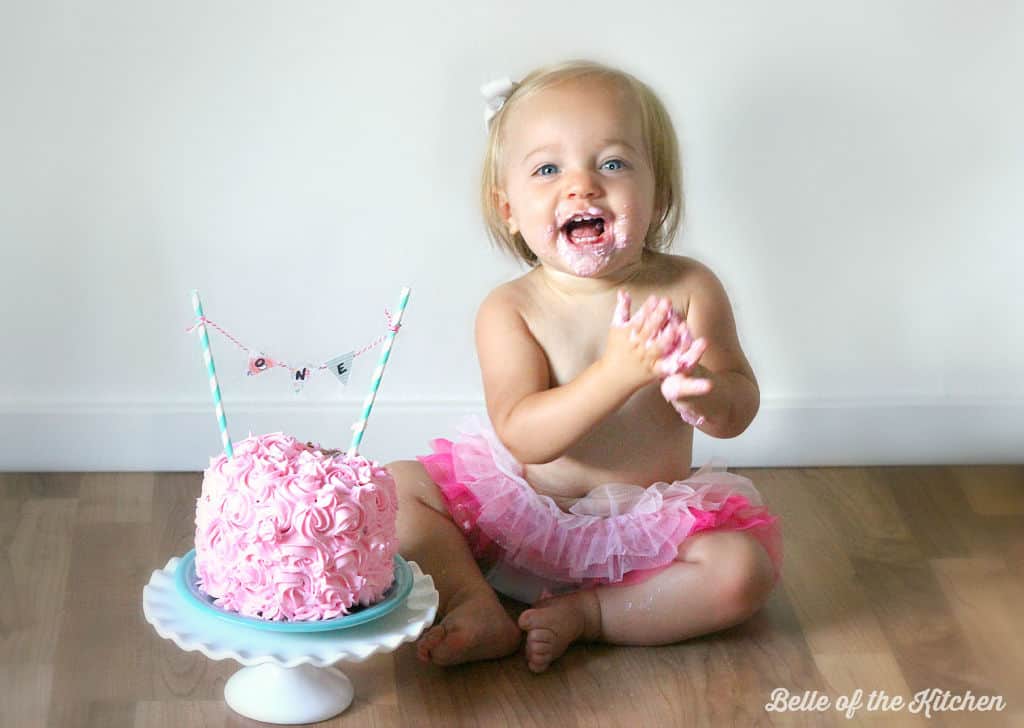
And now you’re ready to snap some photos of your little one enjoying their special cake! Here’s one of our little princess:
I hope this helps you a bit if you’re interested in making a smash cake for a special little one in your life! It’s really not hard at all, and is actually a lot of fun! Like I said, mine is not perfect. My icing decorating skills could probably use some improvement, but overall I was happy with it.
If I can make one that looks somewhat decent, then I know y’all can, too!
Oh, and here’s the recipe for the simple vanilla cake! Enjoy. 🙂
Recipe: 1st Birthday Smash Cake Tutorial + Simple Vanilla Cake
Ingredients
- 2 cups granulated sugar
- 1 cup unsalted butter,, softened
- 4 eggs
- 2 Tablespoons vanilla extract
- 3 cups all-purpose flour, (could also be made with cake flour)
- 3 1/2 teaspoons baking powder
- 1 1/2 cups milk, (I used whole milk)
Instructions
- Preheat oven to 350 degrees. Grease and flour baking pans, or line muffin tin with cupcake liners.
- Using an electric mixer, beat the sugar and butter together over medium speed for 5-8 minutes. Add in the eggs, one at a time, beating well after each addition. Stir in the vanilla.
- Combine the flour and baking powder in a medium sized bowl.
- Alternate adding the dry mixture and the milk to the batter, beginning and ending with the dry mixture. Beat until just combined.
- Pour mixture into prepared baking pans. See notes below for baking times.
- Once baking time is complete, transfer baking dishes to a wire rack to cool. Once completely cool, remove cakes from baking dishes and frost with Easy Buttercream Frosting and enjoy!
Notes
If you like this 1st Birthday Smash Cake Tutorial, then you might also like:
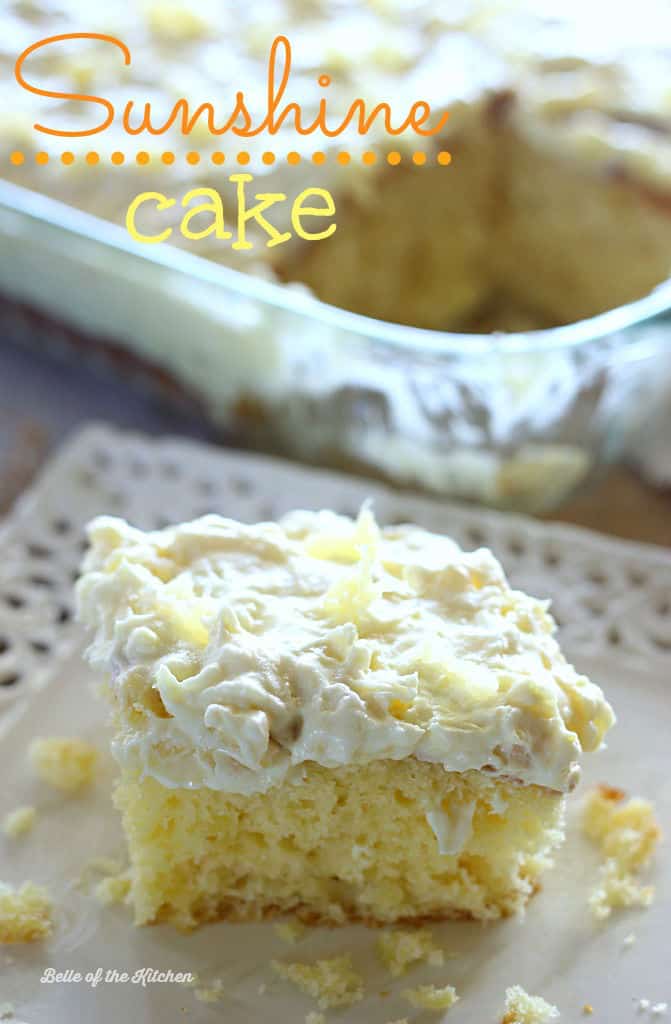
Pineapple Sunshine Cake



Super cute? Do you think this will also work for my husbands 30th birthday? 😉
Haha Lindsey!! You could maybe use a star tip to make it more manly?! It would at least taste good. 😉
Wow! I love this idea–I am totally coping this for my daughter’s 3rd birthday! Found you at #foodieFriday!
Yay Kristen!! Have fun making it and happy birthday to your daughter! Send me a picture if you make it! 🙂
Your cake is adorable! Thank you for sharing it with us. Pinning. 🙂
Thank you so much, Marti!
Aaw, happy happy 1st birthday to your baby girl, Ashlyn! Love love love the smash cake – it’s so so pretty 🙂
Thank you so much, Kelly! She loved her cake for sure!
I love this! What a gorgeous cake!! Thanks so much for sharing at The Wednesday Roundup Link Party!!! Sharing today on my FB page, https://www.facebook.com/LeMoineFamilyKitchen ~Angela @ LeMoine Family Kitchen
Oh thank you SO much for sharing this, Angela! I really appreciate it!
Beautiful! Pinning this for a future baby girl {someday}. <3
Thank you, Farrah! Sounds wonderful for little baby girls to come. 🙂
Oh my goodness, I’m totally in love with this cake!!! 😀 I would love for you to share this post tonight at my Create & Share link party (7:00 PM MST)! Hope to see you there 😀 http://designsbymissmandee.blogspot.com/
Hi Mandee! I will try and stop by. Thank you for the invite!
This looks beautiful!
Thank you, Elizabeth!
What a cute little cake! I love the mini bunting. Great job, Ashlyn!
Thanks so much, Ashley! I loved making the little bunting, too! 🙂
I absolutely love this!!! She is so adorable and this cake is so pretty!
Thank you so much, Chandra!
That frosting looks amazing….I can’t believe that this is the first cake you’ve frosted like that! You have an ADORABLE little girl, by the way!
Thank you, Jamie! It was so much fun to make! 🙂
Absolutely precious and great tutorial!
My readers would love this! Please share on my Show-Licious Party {we are live now}!
~ Ashley
Hi Ashley! Thank you so much and I will pop over to your party for sure. 🙂
You did such a cute job! It’s hard to believe you don’t do those more often!
Thanks Jaren! It wasn’t as hard as I thought it would be, so I might attempt to do it more now! We’ll see. 😉
This is so cute! Love the little cake topper banner too! Happy belated birthday to your daughter!
Thanks Amy! The little banner was definitely one of my favorite parts. 🙂
Wow! your cake looks so pretty and yummy 🙂
Roopini
Let’s Make It Lovely
Thank you, Roopini! It was a lot of fun to make!
Love the cake and the topper you made! Your daughter is absolutely adorable and looks like she really enjoyed her cake 🙂
Thank you so much, Katie! And yes, she LOVED digging into it. My husband had to kind of encourage her to get messy though. 😉
I was wondering how big of a cake pan did you use?
Hi Leah, they are round 1 quart pyrex bowls.
Could you use 2 6×2 pans
Hi Wanda, I think those would work fine!